TypedAPI: client-server for TypeScript
The emphasis is on maximum ease of use. The bottom line is this: you write the API as a regular TypeScript class with some restrictions, then the interface is automatically built from the class, which will be used by the client application. Some service information is also generated. All that remains is to configure the connectors (HTTP and WebSocket are available). Validation, connection storage, etc. are handled by TypedAPI. There is support for events.
There are two simple demo applications: Hello, world! and Demo chat.
Installation
TypedAPI consists of several libraries that are connected depending on the type of use.
- typedapi-core: core, connected by client and server
- typedapi-server: server core, connects to the server, includes the functionality of the HTTP server
- typedapi-client: client core, connects on the client
- typedapi-server-ws – WebSocket server
- typedapi-client-browser-http – HTTP client
- typedapi-client-browser-ws – WebSocket client
- typedapi-parser – Parser for class API and interface creation. Connects on the server with the –dev flag
- typedapi-redis-signaling – for proxying events from microservices to the input API
An example if we want to use a WebSocket connection:
|
1 2 3 4 5 |
# on server npm install --save typedapi-core typedapi-server typedapi-server-ws npm install --save-dev typedapi-parser # on the client npm install --save typedapi-core typedapi-client typedapi-client-browser-ws |
For HTTP connection:
|
1 2 3 4 5 |
# for server npm install --save typedapi-core typedapi-server npm install --save-dev typedapi-parser # for client npm install --save typedapi-core typedapi-client typedapi-client-browser-http |
API class requirements
- All methods must return a Promise
- There are restrictions on the data type that methods can accept and return (see below)
- The class can contain child properties-objects, built according to the same rules
Additionally, the class can contain properties of type Event and ParametricEvent to implement events, and there are predefined injections for authorization and storage of basic information about the user (see below).
An example of a class for “Hello, world!”:
|
1 2 3 4 5 |
export class Api { async hello(name: string): Promise return `Hello, ${name}!` } } |
Data type restrictions
Methods can return / accept the following data types:
- Scalar: number, string, boolean, Date, undefined, null
- Array, Tuple, Enum, Union. May contain only the types described here.
- Structure objects without methods
- Indexed objects of type {[key: string | number]: SomeOtherType}
Reception / transmission of any, unknown is prohibited.
Generating the interface
The interface is generated by using the typedapi-parse command from the typedapi-parser package:
|
1 |
typedapi-parse [sourceFilename] [sourceObjectName] [outFilename] [reflectionOutFileName] |
where:
- sourceFilename: The path to the file where your API is stored
- sourceObjectName: The name of the class in this file
- outFilename: Path to the file in which the interface for the client will be written
- reflectionOutFileName: The path to the file that will store reflections for all methods and data. It is used on the server for data validation.
Create a connection
Once you have configured the API and generated the interfaces, you can configure the connection. An example of how it might look for WebSocket:
Server
|
1 2 3 4 5 6 7 8 9 10 |
import { WebSocketServer } from "typedapi-server-ws" import { buildMap } from "typedapi-server" // file generated by typedapi-parse command for server import { reflection } from "./apiReflection" // Your API class import { Api } from "./Api" new WebSocketServer({ apiMap: buildMap(reflection, new Api), port: 8090 }) |
Client
|
1 2 3 4 5 6 |
import { WebSocketTransport } from "typedapi-client-browser-ws" // file generated by typedapi-parse command for client import { createClient } from "./apiReflection" const api = createClient({ transport }) // now you can use API methods let result = await api.hello(name) |
The HTTP connection is configured in a similar way, you can see it in the documentation.
Events
TypedAPI supports events. With a WebSocket connection, notification occurs in the usual way, by sending data through the socket. HTTP polling is used for HTTP connections.
An example of creating an event on the server:
|
1 2 3 4 5 6 7 8 9 10 11 12 13 14 15 |
import { Event } from "typedapi-server" export class Api { someEvent = new Event } // send an event to all subscribers api.someEvent.fire(data) // send an event to one user api.someEvent.fireForUser(data, userId) // send to a group of users api.someEvent.fireForGroup(data, groupName) // send a specific session api.someEvent.fireForSession(data, sessionId) // send a particular connection api.someEvent.fireForConnection(data, connectionId) |
Client processing:
|
1 2 3 4 5 6 |
// Subscribe to the event const subscription = await api.someEvent.subscribe(data => { // event processing }) // unsubscribe await subscription.unsubscribe() |
Parametric events
Parametric events are events in which a subscription can have specific parameters that determine whether to notify the user about a particular event. More details about parametric events can be found in the documentation.
Authorization
In order to implement authorization in your API, you need to:
- Implement SessionProviderInterface and pass it to the service constructor. By default, the MemorySessionProvider is used, which will be reset on every server reboot.
- Implement methods that return AuthDataResponse. This is a special method response that is handled differently than the other responses.
The AuthDataResponse interface looks like this:
|
1 2 3 4 5 6 7 8 9 10 11 12 |
type AuthDataResponse = { newAuthData: { id?: string | number groups?: string[] name?: string email?: string phone?: string } // the response to be sent to the user // newAuthData used only for internal needs response: boolean } |
example of API implementation with authorization:
|
1 2 3 4 5 6 7 8 9 10 11 12 13 14 15 16 17 18 19 20 21 22 23 24 25 26 27 28 29 30 31 32 33 34 35 36 37 38 39 40 41 |
import { AuthDataResponse } from "typedapi-server" export class ClientApi { /** * Check the username and password, if appropriate, authorize **/ async login(username: string, password: string): Promise let user = await usersRepository.login(username, password) if(!user) { return { response: false, newAuthData: {} } } else { return { response: true, newAuthData: { id: user.id, groups: user.groups } } } } /** * Logout **/ async logout(): Promise return { response: true, newAuthData: {} } } /** * apiUserID will automatically add the user ID. * If the user is not logged in, he will receive a NotAuthorizedError **/ async getUserData(apiUserId: number): Promise let userData = await usersRespotory.getUserData(apiUserId) return userData } } |
Also, in addition to apiUserId, you can get other data about the user, see the documentation for more details.
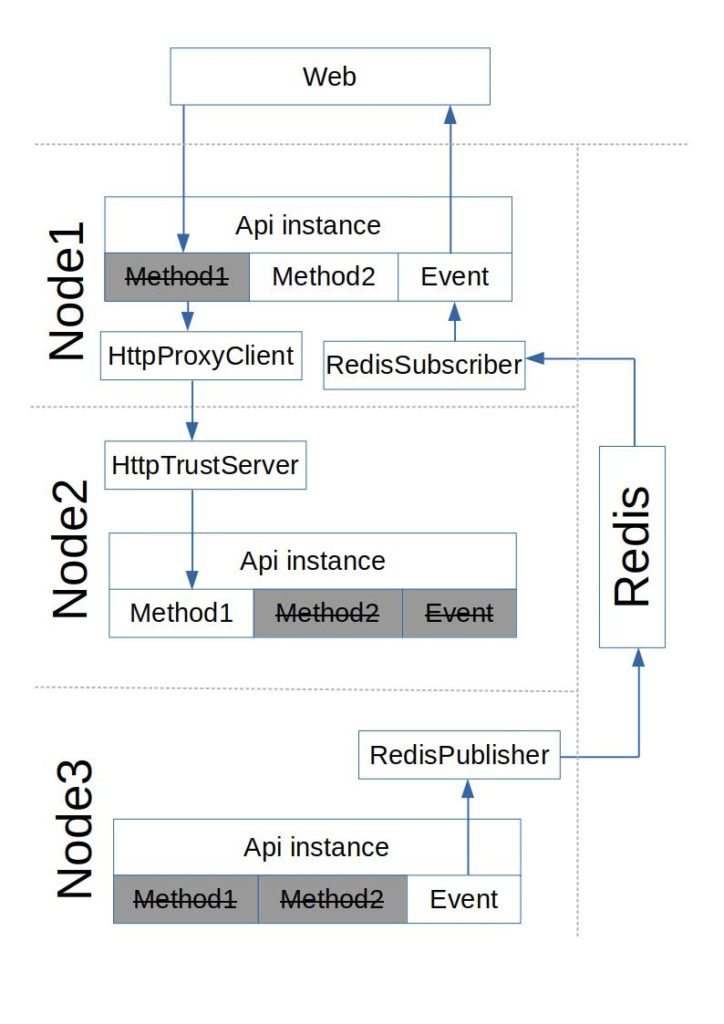
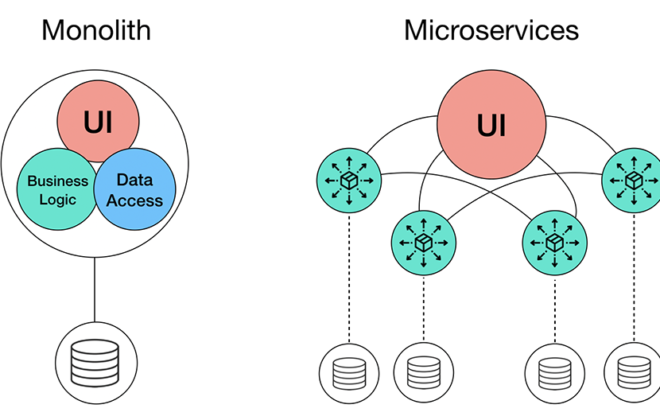
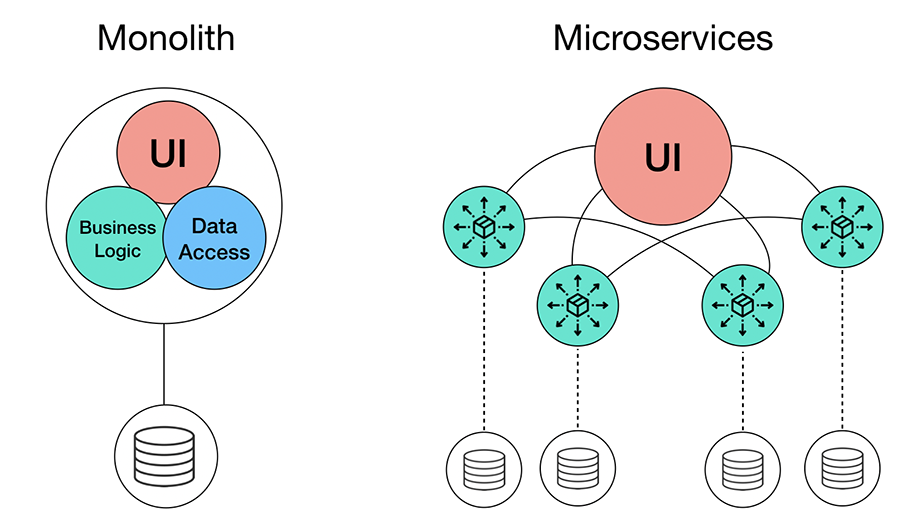
Microservices
To split the API into microservices, the following idea is used: on each microservice, an API instance is raised, and with the help for each instance, it is established which service will be responsible for processing certain methods. There are the following tools for this:
- HttpProxyClient – This object proxies method calls from the input API to the internal service.
- HttpTrustServer – This object accepts a call from HttpProxyClient and invokes the requested method
- RedisPublisher – Attaches to an API, listens for events, and routes them to Redis. Used in internal services.
- RedisSubscriber – Listens for events from Redis, and runs them on the input API
The architecture might look something like this:
Code examples can be found in the documentation.

